Inputting Contours, Creating Contours
Contours are either created automatically as the result of inputting a closed polygon, or they can be generated from elements such as lines, polylines and arcs using the ‘Create contour’ function. A requirement for this is that the contour possesses successive endpoints and can be eventually closed.
An example:
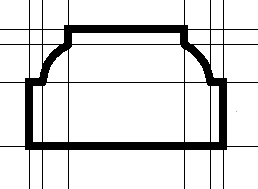
We require the following profile for a balustrade footing.

If necessary, we can create a construction aid with guidelines to enable accurate input and ensure correct proportions.

The subsequent profile consists of two polylines and two arcs (input using 3 points), whereby the ends of the polylines meet the end points of the respective arcs.

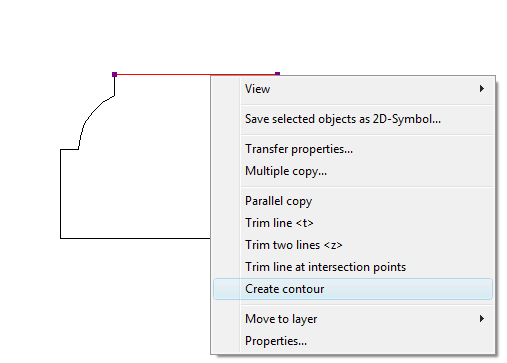
Once input has been completed the contour is created over the ‘Edit 2D Graphics’ toolbar or over the context menu, activated with a right mouse-click, when one of the 2D elements is selected.
Context menu:

Toolbar: In this case an element does not have to be selected. Once the tool has been activated, the contour is created by positioning the mouse cursor over an element of the contour, which is then highlighted. A left mouse-click now starts creation of the contour.


If a valid contour is present it is automatically converted to a closed polygon and can be saved as a profile or used directly to create rotation or extrusion solids.

Tip: A contour is generated even if the contour is not closed. In this way paths for sweep solids can be created. However, non-closed contours cannot be saved as profiles.