 Polylines, Example for Baseboards
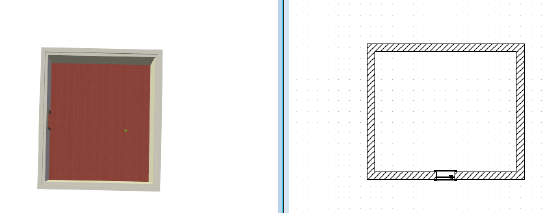
To input baseboards we first select in the 3D view the floor of the room as the plane and confirm this with a left mouse-click.

Next, we select in the 2D plan view the left corner of the door frame as the first point. For this purpose we have changed the 2D representation of the door from standard to wire-frame in the door dialog under ‘Top view’.

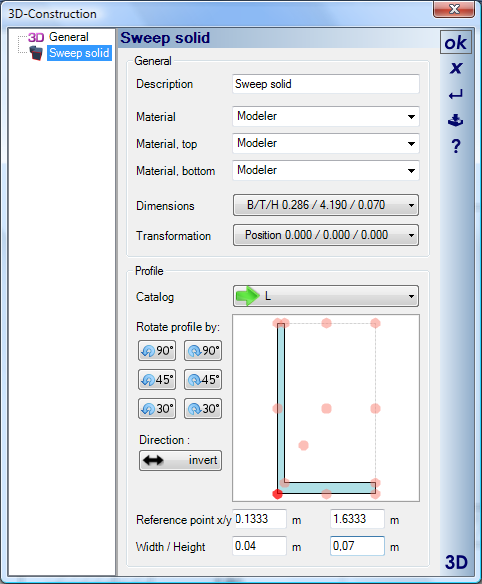
Now we choose the profile of the baseboard in the solid’s properties dialog activated over the context menu, opened with a right mouse-click. We select an ‘L’ profile and modify the settings for width and height shown below the sketch. In the sketch we select the bottom left corner of the profile as the reference point and close the dialog with ‘OK’.

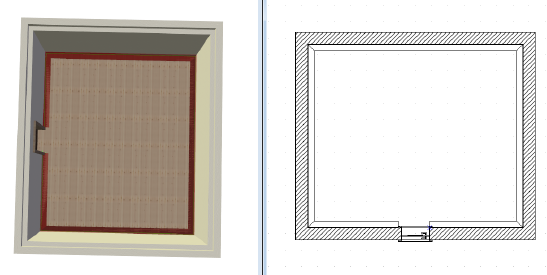
Finally, we ‘sweep’ the polyline over the corners of the room to the other side of the door frame. The resultant sweep solid appears as a preview in 3D and 2D while it is being created. A final mouse-click on the door frame, followed by ‘Enter’, completes the input and creates the sweep solid.
Note: In the example shown, the dimensions of the baseboard were modified so that it was more visible in the preview during input.

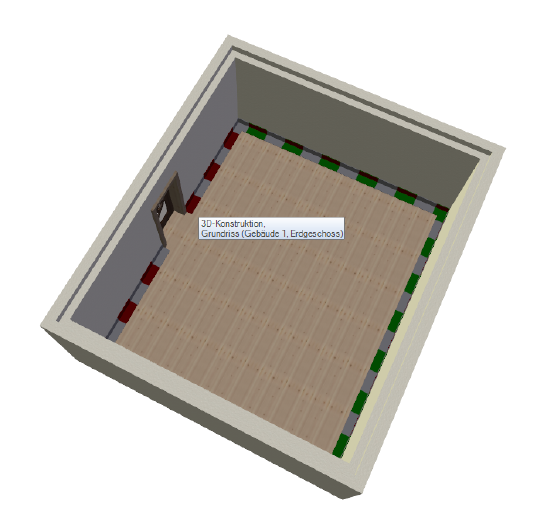
The finished baseboard:
