 Poylgon, Example for Ceiling Moldings
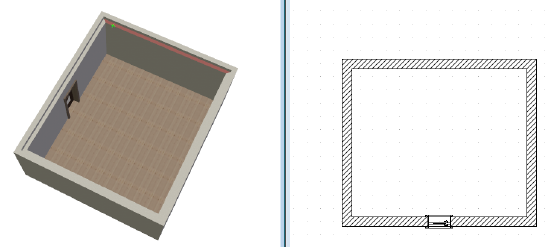
To input ceiling moldings we first select in the 3D view the ceiling support at the top of a wall as the plane, and confirm this with a left mouse-click.

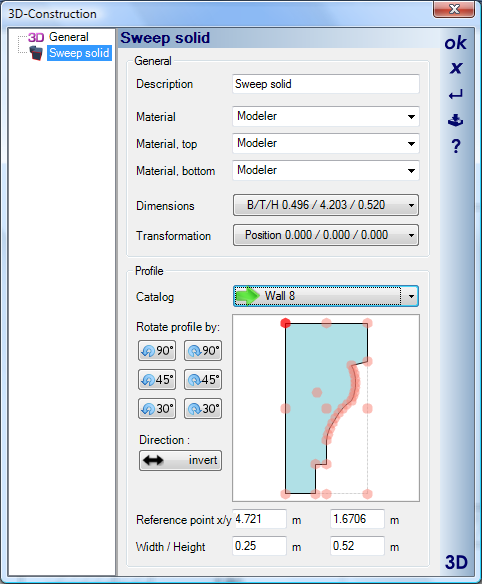
We begin input of a closed polygon by setting the first point at any corner of the room. Now we choose the profile of the molding in the solid’s properties dialog activated over the context menu, opened with a right mouse-click. We select a ‘Decoration’ profile and, if necessary, modify the settings for width and height shown below the sketch. In the sketch we select the top left corner of the profile as the reference point and close the dialog with ‘OK’.

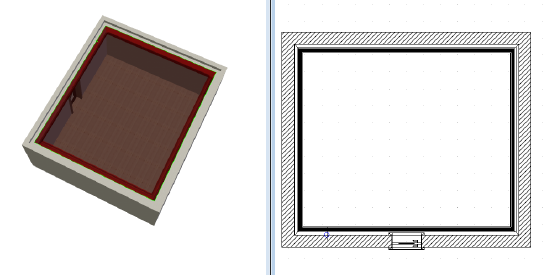
Finally, we enter the polygon over the corners of the room. The resultant sweep solid appears as a preview in 3D and 2D while it is being created. ‘Enter’, completes the input and creates the sweep solid.
The preview during input:

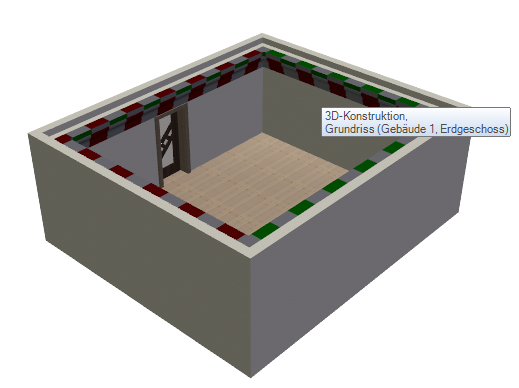
The finished molding:
