Creating Views
When working on a project the software provides three different kinds of views; the 2D view, the 3D view and the cross-section view. Any number of views of a given kind can be created in the project.
The 2D view serves primarily to define precisely the structure of the building with its components, e.g. walls, windows, doors etc, to scale in a floor plan, while the 3D view provides a visualisation of the project and serves to insert furniture and fittings and to landscape the grounds. The cross-section view creates scaled sections through the building and scaled elevations, according to where the cutting line is located.
A new view can be created either using one of the first three buttons in the second horizontal taskbar ![]() or over the ‘Windows’ menu in which we find the three items ‘New 2D view’, ‘New 3D view’, and ‘New cross-section’.
or over the ‘Windows’ menu in which we find the three items ‘New 2D view’, ‘New 3D view’, and ‘New cross-section’.

Views can be accessed in three different ways in the program; firstly over the ‘Windows’ menu, secondly using the ‘Project viewer’,

and finally over a context menu which is opened by pressing ‘Ctrl+Tab’ simultaneously.

Views are closed by simply clicking on the cross in the top right-hand corner. When the last view is closed the project is also closed, but beforehand a dialog box is opened which allows the current state of the project to be saved.
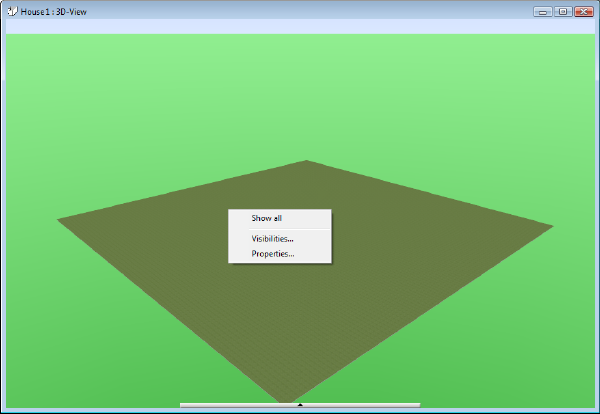
In a view the visibility of each element can be set individually – for instance whether or not the roof, the windows or the furnishings are to be seen. The settings for visibility can be specified for the currently active view over a context menu which is opened with a right mouse-click
