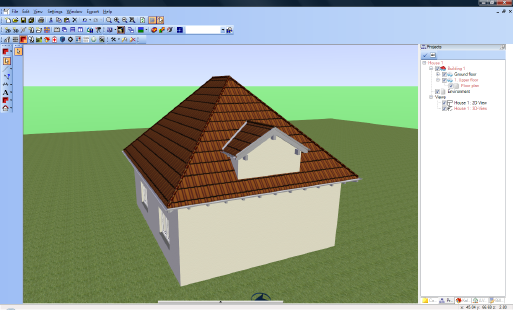
Inserting Dormers
Click on the ‘Roof construction’ button in the plug-in toolbar (the third horizontal toolbar). At the end of the plug-in functions in the vertical toolbar we now see the button for ‘dormers  with an arrow to open the selection window.

Select the Shed dormer. The dormer is now attached to the cursor and can be dropped onto the roof. Move the cursor to the outside edge of the left exterior wall and drop the dormer on the roof with a left mouse click.

The ‘Dormer’ dialog is now opened.

Click on ‘OK’ to accept the settings shown under ‘General’. Over the sub-items of ‘General’ we can specify the settings for ‘Materials’, ‘Cladding’, ‘Timber construction’, ‘Timber dimensions etc., which we are familiar with from the ‘Roof construction’ dialog.

Now you can insert a window in the front wall of the dormer.
