Inserting Stairs
The ‘Stairs’ plug-in is located in the third horizontal toolbar, the plug-in toolbar. After the ‘Stairs’ plug-in has been activated the toolbar with the plug-in functions is updated and you start by clicking on the button for ‘Staircase construction’. You can choose from three types of staircase

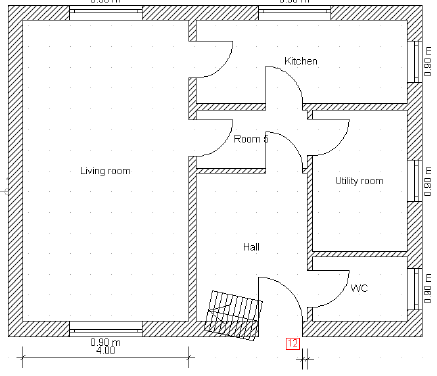
Select the ‘Geometrical stair’. Set the start point in the hall on the inside edge of the front door. The stairs are now attached to the cursor.

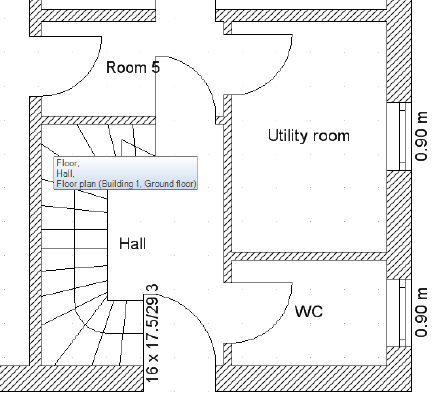
Change the reference point of the stairs with the key combination ‘Ctrl+w’ (select the bottom lower reference point). Click a second time in the bottom left-hand corner of the hall, a third time in the top left-hand corner of the hall and finally on the left edge of the door in the hall. Now press ‘Enter’ and the ‘stair’ dialog appears. Simply click on ‘OK’. The plan of the stairs should now appear as shown in the following illustration.

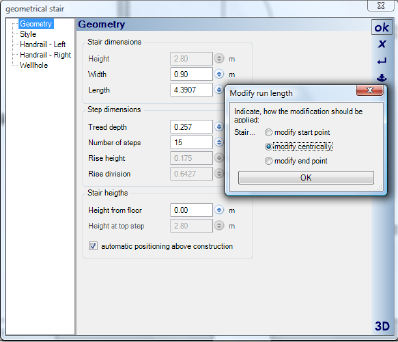
To edit the stairs select them with a left mouse click so that they are highlighted in red. With a right mouse click open the context menu and select properties. The ‘stair’ dialog appears.

The dialog provides settings for the type of staircase construction (solid stairs or wooden stairs), for the type of banisters and the size of the wellhole Under ‘Geometry’ of the stair, set the width in ‘Stair dimensions’ to 90 cm and the tread depth to 25,7 cm. If you click on one of the other input fields the message ‘modify run length’ appears.

Select ‘modify centrically’ and close the dialog with ‘OK’. From the menu on the left select the properties dialog for ‘Handrail left’ and deactivate the option for ‘Create handrail’.

Close the dialog with ‘OK’. The stairs should now appear in the plan as shown in the following illustration:

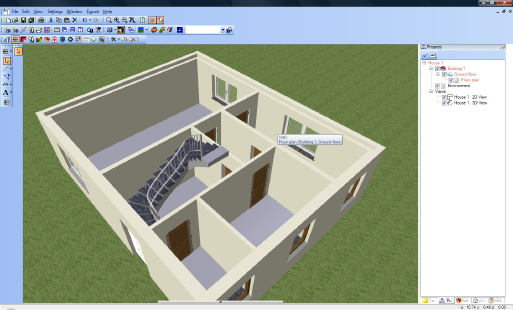
If you switch to the 3D view the following view should appear:
